OS X Najczęściej zadawane pytania
- What is the difference between XAMPP for OS X and XAMPP-VM?
-
- XAMPP for OS X is a native installer for OS X. It installs Apache, PHP and other XAMPP components directly on your OS X system, in the /Applications/XAMPP folder.
- XAMPP-VM is a virtual machine for OS X. It includes Apache, PHP and other XAMPP components and runs them in a Linux-based virtual machine on your OS X system.
For more information, refer to the blog post at https://www.apachefriends.org/blog/new_xampp_20170628.html.
. - Jak mogę zainstalować XAMPP w systemie MAC OS X?
-
Aby zainstalować XAMPP po prostu wykonaj następujące czynności:
- Otwórz obraz DMG.
- Podwójne kliknięcie na obrazku uruchamia proces instalacji.
To wszystko. XAMPP został zainstalowany w katalogu /Applications/XAMPP.
- Does XAMPP include MySQL or MariaDB?
-
Since XAMPP 5.5.30 and 5.6.14, XAMPP ships MariaDB instead of MySQL. The commands and tools are the same for both.
- Jak uruchomić XAMPP?
-
Aby łatwo uruchomić XAMPP, otwórz Panel Kontrolny XAMPP i uruchom Apache, MySQL i ProFTPD. Nazwa Panelu XAMPP to "manager-osx"
- Jak zatrzymać XAMPP?
-
Aby łatwo zatrzymać XAMPP, otwórz Panel Kontrolny XAMPP i zatrzymaj serwery. Nazwa Panelu XAMPP to "manager-osx".
- Jak mogę sprawdzić czy wszystko działa?
-
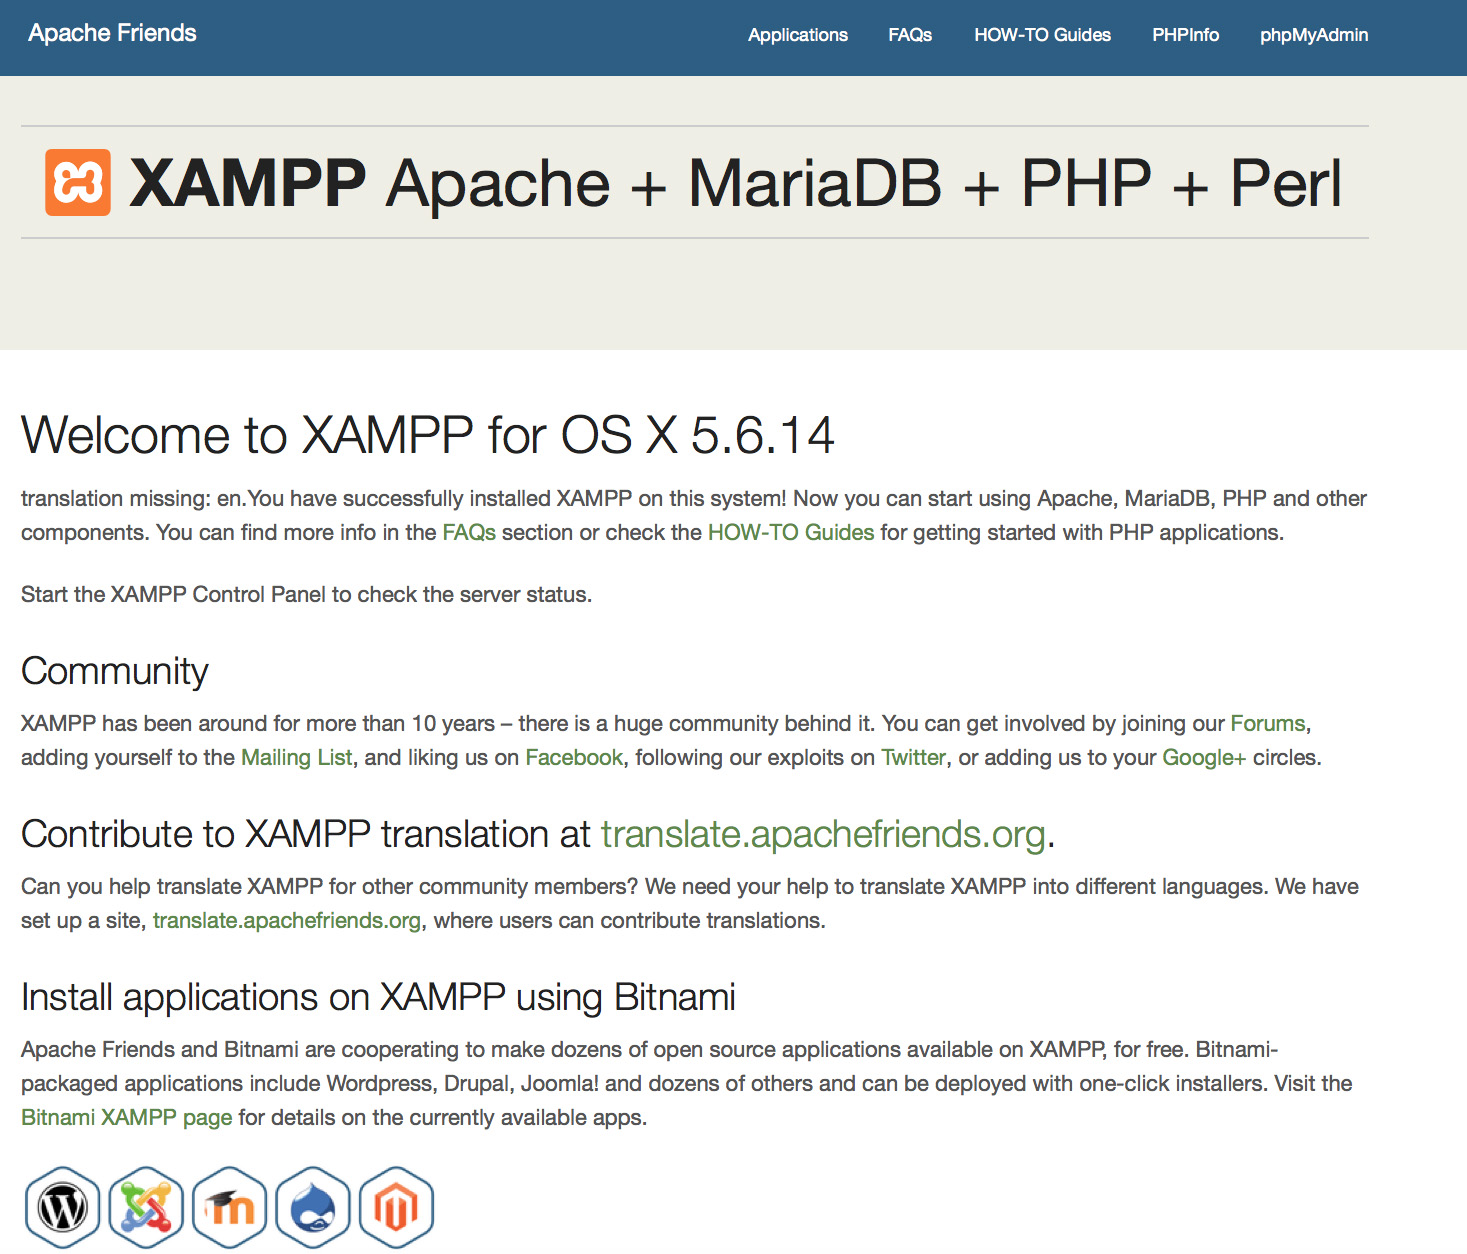
Wpisz następujący adres URL w przeglądarce internetowej:
http://localhostYou should see the XAMPP start page, as shown below.
- Czy XAMPP jest gotowy do środowiska produkcyjnego?
XAMPP nie jest przeznaczony do zastosowań produkcyjnych, ale na środowisko deweloperskie. Sposób w jaki XAMPP jest skonfigurowany by być otwartym jak to tylko możliwe umożliwia deweloperom robić co zechcą. Do zastosowań deweloperskich jest to wspaniałe, ale do zastosowań produkcyjnych może być fatalne.
To jest lista pominiętych zabezpieczeń w XAMPP:
- Administrator MySQL (root) nie ma hasła.
- Usługa MySQL jest dostępna przez sieć.
- ProFTPD używa hasła "lampp" dla użytkownika "daemon".
Aby naprawić większość luk w zabezpieczeniach należy po prostu wywołać następujące polecenie:
sudo /Applications/XAMPP/xamppfiles/xampp securityTo wzbudzi małe sprawdzenie bezpieczeństwa, aby sprawdzić czy instalacja XAMPP jest zabezpieczona.
- Co oznaczają komunikaty błędów, które widzę po uruchomieniu XAMPP?
-
Możesz otrzymać kilka komunikatów błędów przy uruchamianiu XAMPP:
LAMPP-Apache is already running.

            An Apache daemon is already running.
Skrypt startowy LAMPP nie może uruchomić XAMPP-Apache ponieważ jest już uruchomiona inna instancja programu Apache. Aby prawidłowo uruchomić instalację XAMPP musisz najpierw musisz zatrzymać tamtą usługę Apache.
LAMPP-MySQL is already running.

            A MySQL daemon is already running.
Jest to przeważnie spowodowane tym samym co powyższy błąd. Skrypt startowy LAMPP znalazł już uruchomioną usługę MySQL w twoim systemie. By uruchomić LAMPP prawidłowo, najpierw musisz zatrzymać tę usługę.
- Apache doesn't seem to start. What can I do?
-
Ten błąd może występować z kilku powodów. Apache wyświetla ten błąd w różnych okolicznościach. Aby znaleźć właściwy powód musimy zrobić pewne badania:
tail -2 /Applications/XAMPP/logs/error_logJeżeli otrzymujesz jakieś wiadomości o błędach, odwiedź nasze strony społecznościowe aby uzyskać pomoc.
- Jak mogę sprawić by moja instalacja XAMPP była lepiej zabezpieczona?
-
W domyślnej instalacji XAMPP nie ma ustawionego hasła i nie zaleca się uruchamiania XAMPP w takiej konfiguracji dostępnego dla innych.
Wystarczy wpisać następującą komendę (jako root) by uruchomić prosty test zabezpieczeń:
sudo /Applications/XAMPP/xamppfiles/xampp securityTeraz powinieneś zobaczyć na ekranie następujące okno dialogowe:
XAMPP: Quick security check...
XAMPP: MySQL is accessable via network.
XAMPP: Normaly that's not recommended. Do you want me to turn it off? [yes] yes
XAMPP: Turned off.
XAMPP: Stopping MySQL...
XAMPP: Starting MySQL...
XAMPP: The MySQL/phpMyAdmin user pma has no password set!!!
XAMPP: Do you want to set a password? [yes] yes
XAMPP: Password: ******
XAMPP: Password (again): ******
XAMPP: Setting new MySQL pma password.
XAMPP: Setting phpMyAdmin's pma password to the new one.
XAMPP: MySQL has no root passwort set!!!
XAMPP: Do you want to set a password? [yes] yes
XAMPP: Write the passworde somewhere down to make sure you won't forget it!!!
XAMPP: Password: ******
XAMPP: Password (again): ******
XAMPP: Setting new MySQL root password.
XAMPP: Setting phpMyAdmin's root password to the new one.
XAMPP: The FTP password for user 'nobody' is still set to 'lampp'.
XAMPP: Do you want to change the password? [yes] yes
XAMPP: Password: ******
XAMPP: Password (again): ******
XAMPP: Reload ProFTPD...
XAMPP: Done.
(1) Ustawienie hasła pozwoli zabezpieczyć strony demo XAMPP (http://localhost/xampp/) tym hasłem. Nazwa użytkownika to 'lampp'!
Po wywołaniu tej komendy twoja instalacja XAMPP powinna być lepiej zabezpieczona.
- Jak mogę aktywować rozszerzenie OCI8/Oracle dla PHP?
-
By aktywować rozszerzenie OCI8/Oracle dla PHP wykonaj poniższe komendy:
sudo /Applications/XAMPP/xamppfiles/lampp oci8Uruchomi się następujące okno dialogowe:
Please enter the path to your Oracle or Instant Client installation:
[/Applications/XAMPP/xamppfiles/lib/instantclient-11.2.0.3.0]
installing symlinks...
patching php.ini...
OCI8 add-on activation likely successful.
LAMPP: Stopping Apache with SSL...
LAMPP: Starting Apache with SSL...
Teraz rozszerzenie powinno być aktywne.
- How do I enable access to phpMyAdmin from the outside?
-
In the basic configuration of XAMPP, phpMyAdmin is accessible only from the same host that XAMPP is running on, at http://127.0.0.1 or http://localhost.
IMPORTANT: Enabling external access for phpMyAdmin in production environments is a significant security risk. You are strongly advised to only allow access from localhost. A remote attacker could take advantage of any existing vulnerability for executing code or for modifying your data.
To enable remote access to phpMyAdmin, follow these steps:
- Edit the xamppfiles/etc/extra/httpd-xampp.conf file in your XAMPP installation directory.
- Within this file, find the lines below.
Alias /phpmyadmin "/Applications/XAMPP/xamppfiles/phpmyadmin" <Directory "/Applications/XAMPP/xamppfiles/phpmyadmin"> AllowOverride AuthConfig Require local - Then replace 'Require local' with 'Require all granted'.
- Restart the Apache server using the XAMPP control panel.
Alias /phpmyadmin "/Applications/XAMPP/xamppfiles/phpmyadmin" <Directory "/Applications/XAMPP/xamppfiles/phpmyadmin"> AllowOverride AuthConfig Require all granted - Where are the main XAMPP configuration files?
-
The main XAMPP configuration files are located as follows:
- Apache configuration file: /Applications/XAMPP/xamppfiles/etc/httpd.conf, /Applications/XAMPP/xamppfiles/etc/extra/httpd-xampp.conf
- PHP configuration file: /Applications/XAMPP/xamppfiles/etc/php.ini
- MySQL configuration file: /Applications/XAMPP/xamppfiles/etc/my.cnf
- ProFTPD configuration file: /Applications/XAMPP/xamppfiles/etc/proftpd.conf
- How do I send email with XAMPP?
-
To send email with XAMPP, use the PEAR Mail and Net_SMTP packages, which allow you to send email using an external SMTP account (such as a Gmail account). Follow these steps:
- Install the Mail and Net_SMTP PEAR modules:
pear install Net_SMTP MailNote that if these packages are already installed in your system you see the messages below when executing that command:Ignoring installed package pear/Net_SMTP Ignoring installed package pear/Mail Nothing to install -
Create the following example script in your "htdocs" directory to send an email:
          <?php
          require_once "Mail.php";

          $from = "your-gmail-username@gmail.com";
          $to = 'recipients@example.com';

          $host = "ssl://smtp.gmail.com";
          $port = "465";
          $username = 'your-gmail-username@gmail.com';
          $password = 'your-gmail-password';

          $subject = "test";
          $body = "test";

          $headers = array ('From' => $from, 'To' => $to,'Subject' => $subject);
          $smtp = Mail::factory('smtp',
             array ('host' => $host,
               'port' => $port,
               'auth' => true,
               'username' => $username,
               'password' => $password));

          $mail = $smtp->send($to, $headers, $body);

          if (PEAR::isError($mail)) {
            echo($mail->getMessage());
          } else {
            echo("Message successfully sent!\n");
          }
          ?>
Remember to replace the dummy values shown with your actual Gmail address and account password. If you don't plan to use Gmail's SMTP server, replace the SMTP host details with appropriate values for your organization or ISP's SMTP server.
- Execute the script by browsing to it using your Web browser. You should see a notification that the message was successfully sent, and the message should be delivered to the recipient email address.
- Install the Mail and Net_SMTP PEAR modules:
- Jak mogę wykonać kopię bezpieczeństwa (lub przywrócić z kopii) mojego systemu XAMPP?
-
Ostrzeżenie: Wykonywanie kopii bezpieczeństwa i odzyskiwanie z kopii jest wciąż w trakcie tworzenia i może działać niepoprawnie.
Możesz wykonać backup wywołując polecenie:
sudo /Applications/XAMPP/xamppfiles/xampp backuplub
sudo /Applications/XAMPP/xamppfiles/xampp backup secretGdzie "secret" jest twoim hasłem roota w MySQL. Ta komenda utworzy następujące wyjście:
Backing up databases...
Backing up configuration, log and htdocs files...
Calculating checksums...
Building final backup file...
Backup finished.
Take care of /Applications/XAMPP/xamppfiles/backup/xampp-backup-22-01-14.sh
Plik /Applications/XAMPP/xamppfiles/backup/xampp-backup-22-01-14.sh (w przykładzie poniżej) zawiera twoją kopię zapasową. Przenieś ten plik w bezpieczne miejsce.
Na nowym komputerze powinieneś mieć taką samą wersję XAMPP co komputer oryginalny.
sudo sh xampp-backup-22-01-14.shPowinieneś zobaczyć coś podobnego do tego:
Checking integrity of files...
Restoring configuration, log and htdocs files...
Checking versions...
Installed: XAMPP 1.4.2
Backup from: XAMPP 1.4.2
Restoring MySQL databases...
Restoring MySQL user databases...
Backup complete. Have fun!
You may need to restart XAMPP to complete the restore.
To wszystko. Należy pamiętać, że jest to wersja beta.