OS X Întrebări Frecvente - FAQ
- What is the difference between XAMPP for OS X and XAMPP-VM?
-
- XAMPP for OS X is a native installer for OS X. It installs Apache, PHP and other XAMPP components directly on your OS X system, in the /Applications/XAMPP folder.
- XAMPP-VM is a virtual machine for OS X. It includes Apache, PHP and other XAMPP components and runs them in a Linux-based virtual machine on your OS X system.
For more information, refer to the blog post at https://www.apachefriends.org/blog/new_xampp_20170628.html.
. - Cum fac instalarea XAMPP pentru Mac OS X?
-
Pentru a instala XAMPP efectuați următoarele:
- Deschide DMG-Image.
- Dublu-clic pe imagine pentru a începe procesul de instalare.
Asta-i tot. XAMPP este acum instalat în directorul /Aplicatii/XAMPP.
- Does XAMPP include MySQL or MariaDB?
-
Since XAMPP 5.5.30 and 5.6.14, XAMPP ships MariaDB instead of MySQL. The commands and tools are the same for both.
- Cum pornesc XAMPP?
-
Pentru a porni XAMPP, deschide simplu Control-ul XAMPP şi startează Apache, MySQL si ProFTPD. Numele Control-ului XAMPP este "manager-osx".
- Cum opresc XAMPP?
-
Pentru a opri XAMPP, deschideţi simplu Control-ul XAMPP şi opriţi serverele. Numele Control-ului XAMPP este "manager-osx".
- Com poţi testa dacă totul funcţionază?
-
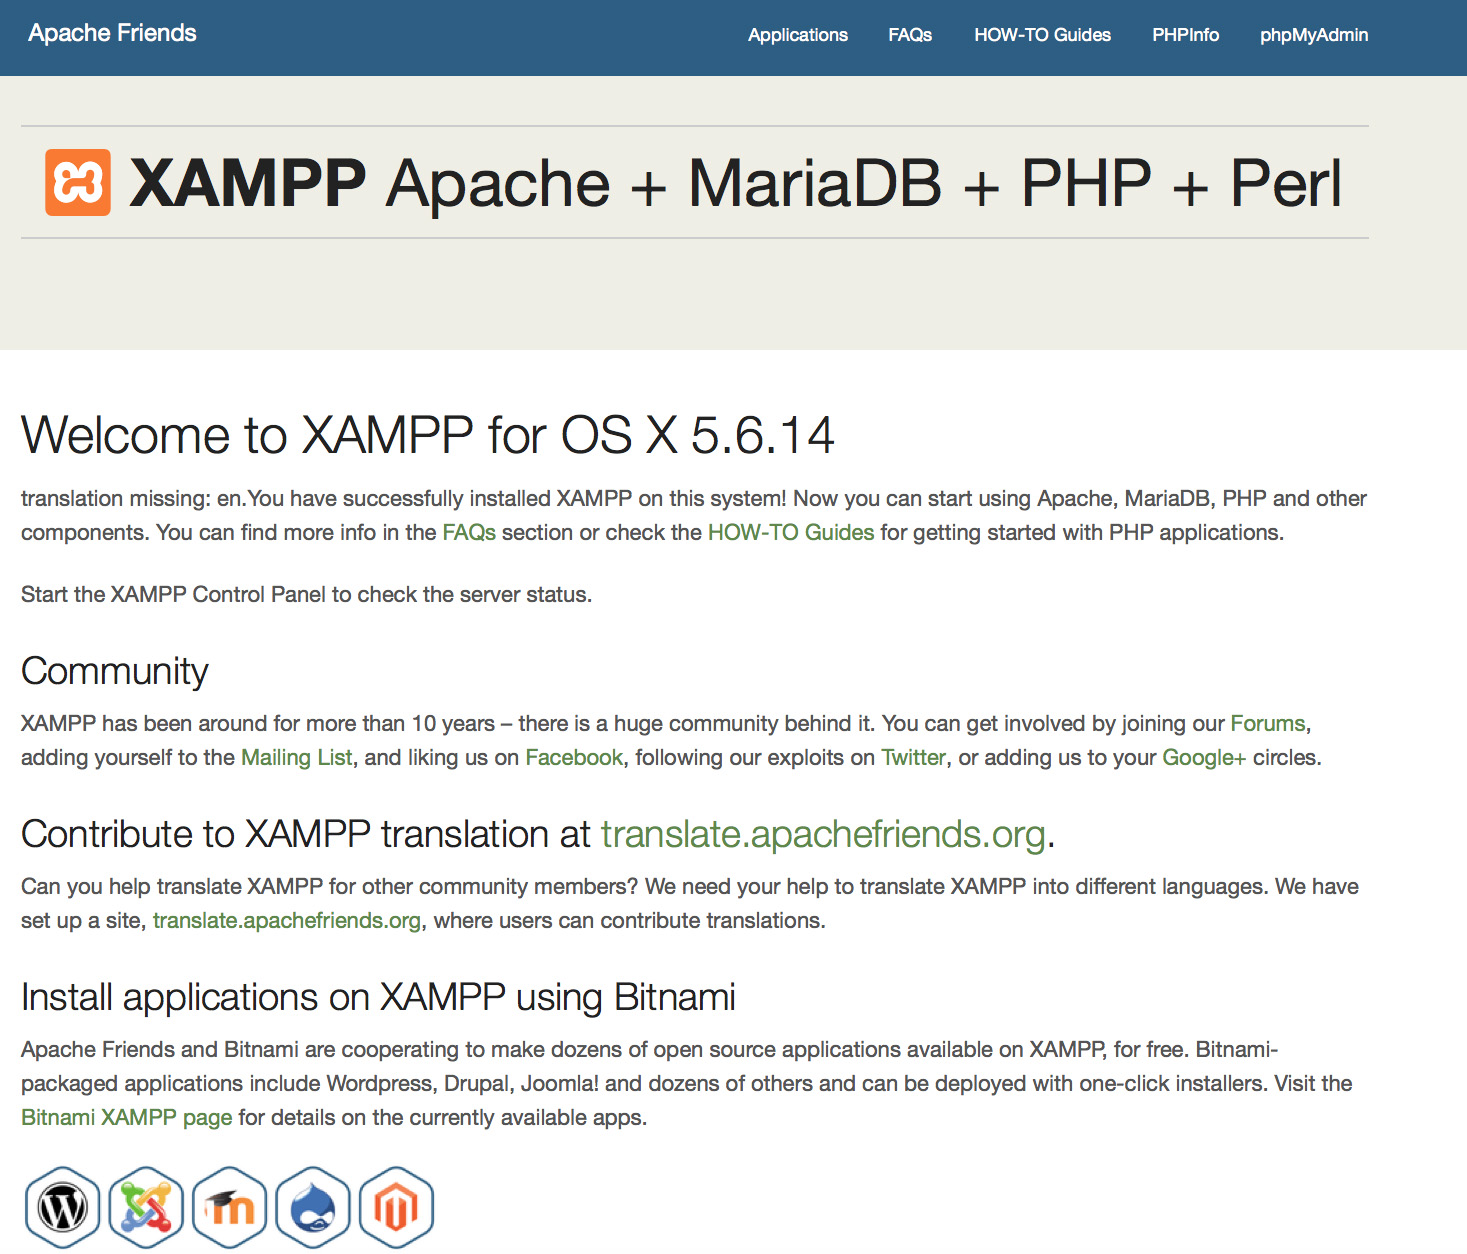
Tastaţi într-un browser web adresa URL următoare:
http://localhostYou should see the XAMPP start page, as shown below.
- Poate fi folosit în producţie XAMPP?
XAMPP nu este adecvat utilizării în producţie, ci doar în medii de dezvoltare. El este configurat în modul cel mai deschis, pentru ai permite programatorului tot ce acesta îşi doreşte. Aceasta convine perfect în medii de dezvoltare, dar poate fi un dezastru într-un mediu de producţie.
Iată o listă de vulnerabilităţi ale XAMPP:
- Administratorul MySQL (contul de root) nu are parolă.
- Se poate accesa în reţea daemon-ul MySQL.
- ProFTPD uses the password "lampp" for user "daemon".
Recurgeţi la următoarea comandă, pentru a înlătura simplu majoritatea vulnerabilităţilor:
sudo /Applications/XAMPP/xamppfiles/xampp securityVa efectua o scurtă verificare a securităţii, pentru a face mai sigură instalarea XAMPP.
- Care este semnificaţia mesajului de eroare care apare când pornesc XAMPP?
-
Poţi primi câteva mesaje de eroare până se porneşte XAMPP:
LAMPP-Apache is already running.

            An Apache daemon is already running.
Scriptul de executare LAMPP nu poneşte XAMPP-Apache deoarece există o instanţă Apache deja pornită. Pentru a porni XAMPP în mod corespunzător, în primul rând trebuie să se oprit acest demon.
LAMPP-MySQL is already running.

            A MySQL daemon is already running.
Acest lucru se datorează în mare parte aceloraş motive ca eroarea de mai sus. Script-ul de pornire LAMPP găsit un demon MySQL care deja rulează pe sistemul dumneavoastră. Pentru a porni LAMPP în mod corespunzător, trebuie sa te opresti acest demon.
- Apache doesn't seem to start. What can I do?
-
Această eroare poate exista din mai multe motive. Apache afişează această eroare în urma câtorva circumstanţe. Pentru a afla exact motivul trebuie să facem un pic de cercetare:
tail -2 /Applications/XAMPP/logs/error_logDacă primiţi mesaje de eroare vizitează paginile comunităţii noastre pentru ajutor.
- Ce pot face pentru o instalare XAMPP cât mai securizată?
-
La instalarea implicită XAMPP nu are parole stabilite, iar utilizarea sa în această configuraţie accesibilă altora, nu este recomandată.
Tastaţi direct următoarea comandă (ca root) pentru a starta o simplă verificare a securităţii:
sudo /Applications/XAMPP/xamppfiles/xampp securityAr trebui să vedeţi acum pe ecran, următorul dialog:
XAMPP: Quick security check...
XAMPP: MySQL is accessable via network.
XAMPP: Normaly that's not recommended. Do you want me to turn it off? [yes] yes
XAMPP: Turned off.
XAMPP: Stopping MySQL...
XAMPP: Starting MySQL...
XAMPP: The MySQL/phpMyAdmin user pma has no password set!!!
XAMPP: Do you want to set a password? [yes] yes
XAMPP: Password: ******
XAMPP: Password (again): ******
XAMPP: Setting new MySQL pma password.
XAMPP: Setting phpMyAdmin's pma password to the new one.
XAMPP: MySQL has no root passwort set!!!
XAMPP: Do you want to set a password? [yes] yes
XAMPP: Write the passworde somewhere down to make sure you won't forget it!!!
XAMPP: Password: ******
XAMPP: Password (again): ******
XAMPP: Setting new MySQL root password.
XAMPP: Setting phpMyAdmin's root password to the new one.
XAMPP: The FTP password for user 'nobody' is still set to 'lampp'.
XAMPP: Do you want to change the password? [yes] yes
XAMPP: Password: ******
XAMPP: Password (again): ******
XAMPP: Reload ProFTPD...
XAMPP: Done.
(1) Stabilirea unei parole va proteja paginile demo XAMPP (http://localhost/xampp/) folosind această parolă. Numele de utilizator este 'lampp'!
După apelarea acestei comenzi instalarea XAMPP ar trebui să fie mai protejată.
- Cum activez extensia OCI8/Oracle pentru PHP?
-
Pentru a activa extensia OCI8/Oracle pentru PHP vă rugăm să executați următoarea comandă:
sudo /Applications/XAMPP/xamppfiles/lampp oci8Următorul dialog va începe:
Please enter the path to your Oracle or Instant Client installation:
[/Applications/XAMPP/xamppfiles/lib/instantclient-11.2.0.3.0]
installing symlinks...
patching php.ini...
OCI8 add-on activation likely successful.
LAMPP: Stopping Apache with SSL...
LAMPP: Starting Apache with SSL...
Acum extensia trebuie să fie activă.
- How do I enable access to phpMyAdmin from the outside?
-
In the basic configuration of XAMPP, phpMyAdmin is accessible only from the same host that XAMPP is running on, at http://127.0.0.1 or http://localhost.
IMPORTANT: Enabling external access for phpMyAdmin in production environments is a significant security risk. You are strongly advised to only allow access from localhost. A remote attacker could take advantage of any existing vulnerability for executing code or for modifying your data.
To enable remote access to phpMyAdmin, follow these steps:
- Edit the xamppfiles/etc/extra/httpd-xampp.conf file in your XAMPP installation directory.
- Within this file, find the lines below.
Alias /phpmyadmin "/Applications/XAMPP/xamppfiles/phpmyadmin" <Directory "/Applications/XAMPP/xamppfiles/phpmyadmin"> AllowOverride AuthConfig Require local - Then replace 'Require local' with 'Require all granted'.
- Restart the Apache server using the XAMPP control panel.
Alias /phpmyadmin "/Applications/XAMPP/xamppfiles/phpmyadmin" <Directory "/Applications/XAMPP/xamppfiles/phpmyadmin"> AllowOverride AuthConfig Require all granted - Where are the main XAMPP configuration files?
-
The main XAMPP configuration files are located as follows:
- Apache configuration file: /Applications/XAMPP/xamppfiles/etc/httpd.conf, /Applications/XAMPP/xamppfiles/etc/extra/httpd-xampp.conf
- PHP configuration file: /Applications/XAMPP/xamppfiles/etc/php.ini
- MySQL configuration file: /Applications/XAMPP/xamppfiles/etc/my.cnf
- ProFTPD configuration file: /Applications/XAMPP/xamppfiles/etc/proftpd.conf
- How do I send email with XAMPP?
-
To send email with XAMPP, use the PEAR Mail and Net_SMTP packages, which allow you to send email using an external SMTP account (such as a Gmail account). Follow these steps:
- Install the Mail and Net_SMTP PEAR modules:
pear install Net_SMTP MailNote that if these packages are already installed in your system you see the messages below when executing that command:Ignoring installed package pear/Net_SMTP Ignoring installed package pear/Mail Nothing to install -
Create the following example script in your "htdocs" directory to send an email:
          <?php
          require_once "Mail.php";

          $from = "your-gmail-username@gmail.com";
          $to = 'recipients@example.com';

          $host = "ssl://smtp.gmail.com";
          $port = "465";
          $username = 'your-gmail-username@gmail.com';
          $password = 'your-gmail-password';

          $subject = "test";
          $body = "test";

          $headers = array ('From' => $from, 'To' => $to,'Subject' => $subject);
          $smtp = Mail::factory('smtp',
             array ('host' => $host,
               'port' => $port,
               'auth' => true,
               'username' => $username,
               'password' => $password));

          $mail = $smtp->send($to, $headers, $body);

          if (PEAR::isError($mail)) {
            echo($mail->getMessage());
          } else {
            echo("Message successfully sent!\n");
          }
          ?>
Remember to replace the dummy values shown with your actual Gmail address and account password. If you don't plan to use Gmail's SMTP server, replace the SMTP host details with appropriate values for your organization or ISP's SMTP server.
- Execute the script by browsing to it using your Web browser. You should see a notification that the message was successfully sent, and the message should be delivered to the recipient email address.
- Install the Mail and Net_SMTP PEAR modules:
- Cum pot salva/restaura sistemul meu XAMPP?
-
Atenţionare: Facilitatea de salvare şi restaurare este încă în dezvoltare şi ar putea să nu funcţioneze corect.
Puteţi crea o salvare, apelând:
sudo /Applications/XAMPP/xamppfiles/xampp backupsau
sudo /Applications/XAMPP/xamppfiles/xampp backup secretUnde "secret" este parola voastră de root MySQL. Această comandă va avea următorul rezultat:
Backing up databases...
Backing up configuration, log and htdocs files...
Calculating checksums...
Building final backup file...
Backup finished.
Take care of /Applications/XAMPP/xamppfiles/backup/xampp-backup-22-01-14.sh
Fişerul /Aplicatii/XAMPP/xamppfiles/backup/xampp-backup-22-01-14.sh (în exemplul anterior) conţine datele voastre salvate. Puneţi fişierul la loc sigur.
Pe noua unitate aveţi nevoie aceeaşi versiune de XAMPP ca pe unitatea originală/sursă.
sudo sh xampp-backup-22-01-14.shAr trebui să vedeți ceva de genul:
Checking integrity of files...
Restoring configuration, log and htdocs files...
Checking versions...
Installed: XAMPP 1.4.2
Backup from: XAMPP 1.4.2
Restoring MySQL databases...
Restoring MySQL user databases...
Backup complete. Have fun!
You may need to restart XAMPP to complete the restore.
Asta e tot. Țineți minte că este o proprietate beta.