OS X Domande frequenti
- What is the difference between XAMPP for OS X and XAMPP-VM?
-
- XAMPP for OS X is a native installer for OS X. It installs Apache, PHP and other XAMPP components directly on your OS X system, in the /Applications/XAMPP folder.
- XAMPP-VM is a virtual machine for OS X. It includes Apache, PHP and other XAMPP components and runs them in a Linux-based virtual machine on your OS X system.
For more information, refer to the blog post at https://www.apachefriends.org/blog/new_xampp_20170628.html.
. - Come faccio installare XAMPP per Mac OS X?
-
Per installare XAMPP basta procedere nel modo seguente:
- Aprire il DMG-immagine.
- Fare doppio clic sull' file immagine per avviare il processo di installazione.
Questo è tutto. XAMPP è ora installato sotto la cartella /Applications/XAMPP.
- Does XAMPP include MySQL or MariaDB?
-
Since XAMPP 5.5.30 and 5.6.14, XAMPP ships MariaDB instead of MySQL. The commands and tools are the same for both.
- Come posso avviare XAMPP?
-
Per avviare XAMPP è sufficiente aprire XAMPP controll e avviare Apache, MySQL e ProFTPD. Il nome del XAMPP controll è 'manager-osx'.
- Come faccio a fermare XAMPP?
-
Per fermare XAMPP è sufficiente aprire XAMPP controll e fermare i server. Il nome del controllo XAMPP è 'manager-osx'.
- Come posso verificare che tutto funzioni?
-
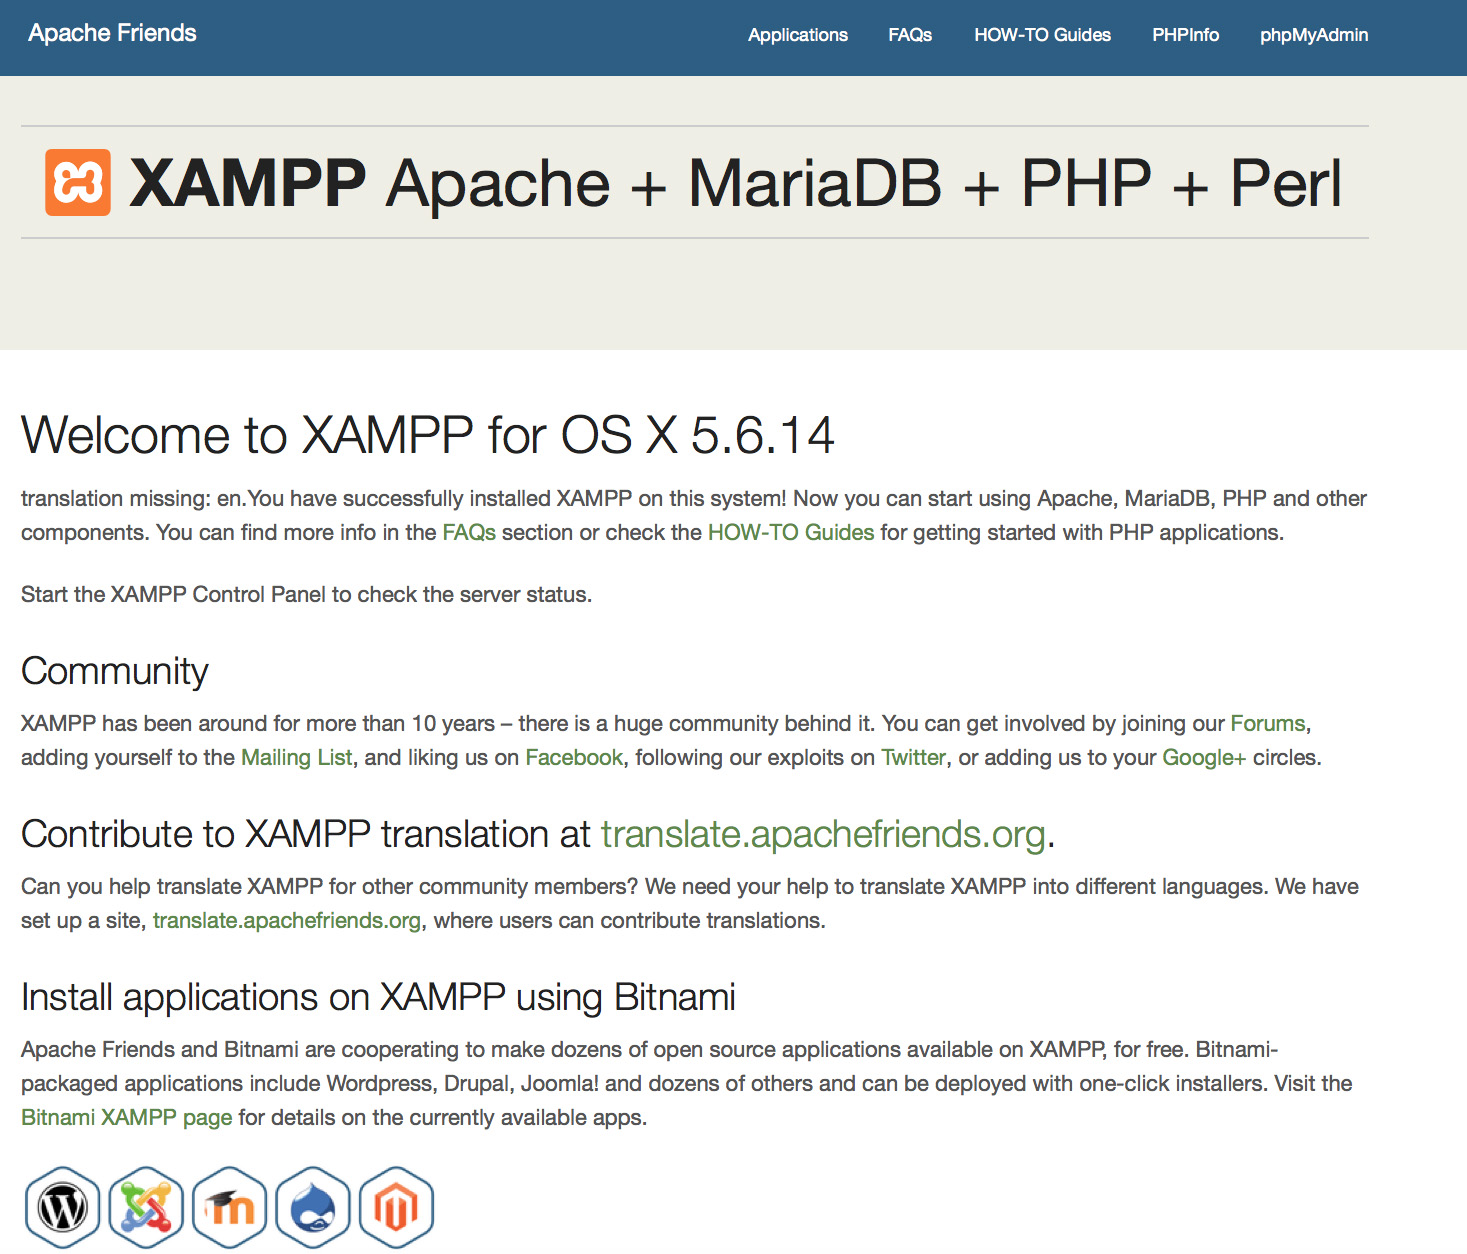
Digitare il seguente URL in un browser Web
http://localhostYou should see the XAMPP start page, as shown below.
- Il prodotto XAMPP e' pronto?
XAMPP non è inteso per la produzione ma solo per ambienti di sviluppo. Il modo in cui XAMPP è configurato è quello di essere più aperto possibile per permettere allo sviluppatore lui/lei di personalizzarlo. Per ambienti di sviluppo questo è ottimo ma in un ambiente di produzione potrebbe essere pericoloso.
Ecco una lista delle impostazioni di sicurezza mancanti in XAMPP:
- L'amministratore di MySQL (root) non ha password.
- Il demone MySQL è accessibile via rete.
- ProFTPD usa come password "lampp" e come user "daemon".
Per risolvere la maggior parte delle carenze di sicurezza e' sufficiente digitare il seguente comando
sudo /Applications/XAMPP/xamppfiles/xampp securitySi darà il via a un piccolo controllo di sicurezza per rendere sicura l'installazione XAMPP.
- Qual è il significato dei messaggi di errore che vedo quando si avvia XAMPP?
-
È possibile ottenere diversi messaggi di errore durante l'avvio di XAMPP
LAMPP-Apache is already running.

            An Apache daemon is already running.
Lo script di avvio LAMPP non è stato avviato XAMPP-Apache perché c'è un 'istanza di Apache già in esecuzione. Per avviare XAMPP correttamente, prima devi fermare questo demone.
LAMPP-MySQL is already running.

            A MySQL daemon is already running.
Ciò è in gran parte dovuto alle stesse ragioni all'errore precedente. Lo script di avvio LAMPP trovato un demone MySQL già in esecuzione sul vostro sistema. Per avviare correttamente LAMPP, prima devi fermare questo demone.
- Apache doesn't seem to start. What can I do?
-
Questo errore può esistere per diverse ragioni. Apache viene visualizzato questo errore in diverse circostanze. Per trovare l'esatta ragione dobbiamo fare qualche ricerca
tail -2 /Applications/XAMPP/logs/error_logSe ricevete un qualsiasi messaggio d'errore visitate le nostre pagine di comunità per ricevere aiuto.
- Come posso rendere la mia installazione XAMPP più sicura?
-
In una installazione predefinita, XAMPP non ha password impostate e non è consigliabile eseguire XAMPP con questa configurazione essendo accessibile da altri.
Basta digitare il seguente comando (come root) per avviare un semplice controllo di sicurezza
sudo /Applications/XAMPP/xamppfiles/xampp securityOra si dovrebbe vedere la seguente finestra di dialogo sullo schermo
XAMPP: Quick security check...
XAMPP: MySQL is accessable via network.
XAMPP: Normaly that's not recommended. Do you want me to turn it off? [yes] yes
XAMPP: Turned off.
XAMPP: Stopping MySQL...
XAMPP: Starting MySQL...
XAMPP: The MySQL/phpMyAdmin user pma has no password set!!!
XAMPP: Do you want to set a password? [yes] yes
XAMPP: Password: ******
XAMPP: Password (again): ******
XAMPP: Setting new MySQL pma password.
XAMPP: Setting phpMyAdmin's pma password to the new one.
XAMPP: MySQL has no root passwort set!!!
XAMPP: Do you want to set a password? [yes] yes
XAMPP: Write the passworde somewhere down to make sure you won't forget it!!!
XAMPP: Password: ******
XAMPP: Password (again): ******
XAMPP: Setting new MySQL root password.
XAMPP: Setting phpMyAdmin's root password to the new one.
XAMPP: The FTP password for user 'nobody' is still set to 'lampp'.
XAMPP: Do you want to change the password? [yes] yes
XAMPP: Password: ******
XAMPP: Password (again): ******
XAMPP: Reload ProFTPD...
XAMPP: Done.
(1) L'impostazione di una password proteggerà le pagine dimostrative di XAMPP (http://localhost/xampp/) usando questa password. Il nome utente è 'lampp'!
Dopo aver digitato questo comando la tua installazione XAMPP dovrebbe essere più sicuro.
- Come faccio ad attivare l'estensione OCI8/Oracle per PHP?
-
Per attivare l'estensione OCI8/Oracle per PHP si prega di eseguire il seguente comando:
sudo /Applications/XAMPP/xamppfiles/lampp oci8Apparirà la seguente finestra di dialogo:
Please enter the path to your Oracle or Instant Client installation:
[/Applications/XAMPP/xamppfiles/lib/instantclient-11.2.0.3.0]
installing symlinks...
patching php.ini...
OCI8 add-on activation likely successful.
LAMPP: Stopping Apache with SSL...
LAMPP: Starting Apache with SSL...
Ora l'estensione dovrebbe essere attiva.
- How do I enable access to phpMyAdmin from the outside?
-
In the basic configuration of XAMPP, phpMyAdmin is accessible only from the same host that XAMPP is running on, at http://127.0.0.1 or http://localhost.
IMPORTANT: Enabling external access for phpMyAdmin in production environments is a significant security risk. You are strongly advised to only allow access from localhost. A remote attacker could take advantage of any existing vulnerability for executing code or for modifying your data.
To enable remote access to phpMyAdmin, follow these steps:
- Edit the xamppfiles/etc/extra/httpd-xampp.conf file in your XAMPP installation directory.
- Within this file, find the lines below.
Alias /phpmyadmin "/Applications/XAMPP/xamppfiles/phpmyadmin" <Directory "/Applications/XAMPP/xamppfiles/phpmyadmin"> AllowOverride AuthConfig Require local - Then replace 'Require local' with 'Require all granted'.
- Restart the Apache server using the XAMPP control panel.
Alias /phpmyadmin "/Applications/XAMPP/xamppfiles/phpmyadmin" <Directory "/Applications/XAMPP/xamppfiles/phpmyadmin"> AllowOverride AuthConfig Require all granted - Where are the main XAMPP configuration files?
-
The main XAMPP configuration files are located as follows:
- Apache configuration file: /Applications/XAMPP/xamppfiles/etc/httpd.conf, /Applications/XAMPP/xamppfiles/etc/extra/httpd-xampp.conf
- PHP configuration file: /Applications/XAMPP/xamppfiles/etc/php.ini
- MySQL configuration file: /Applications/XAMPP/xamppfiles/etc/my.cnf
- ProFTPD configuration file: /Applications/XAMPP/xamppfiles/etc/proftpd.conf
- How do I send email with XAMPP?
-
To send email with XAMPP, use the PEAR Mail and Net_SMTP packages, which allow you to send email using an external SMTP account (such as a Gmail account). Follow these steps:
- Install the Mail and Net_SMTP PEAR modules:
pear install Net_SMTP MailNote that if these packages are already installed in your system you see the messages below when executing that command:Ignoring installed package pear/Net_SMTP Ignoring installed package pear/Mail Nothing to install -
Create the following example script in your "htdocs" directory to send an email:
          <?php
          require_once "Mail.php";

          $from = "your-gmail-username@gmail.com";
          $to = 'recipients@example.com';

          $host = "ssl://smtp.gmail.com";
          $port = "465";
          $username = 'your-gmail-username@gmail.com';
          $password = 'your-gmail-password';

          $subject = "test";
          $body = "test";

          $headers = array ('From' => $from, 'To' => $to,'Subject' => $subject);
          $smtp = Mail::factory('smtp',
             array ('host' => $host,
               'port' => $port,
               'auth' => true,
               'username' => $username,
               'password' => $password));

          $mail = $smtp->send($to, $headers, $body);

          if (PEAR::isError($mail)) {
            echo($mail->getMessage());
          } else {
            echo("Message successfully sent!\n");
          }
          ?>
Remember to replace the dummy values shown with your actual Gmail address and account password. If you don't plan to use Gmail's SMTP server, replace the SMTP host details with appropriate values for your organization or ISP's SMTP server.
- Execute the script by browsing to it using your Web browser. You should see a notification that the message was successfully sent, and the message should be delivered to the recipient email address.
- Install the Mail and Net_SMTP PEAR modules:
- Come faccio il backup/ripristino mio sistema XAMPP?
-
Attenzione: Il backup e ripristinare la funzionalità è ancora in fase di sviluppo e potrebbero non funzionare correttamente.
È possibile creare il backup digitando
sudo /Applications/XAMPP/xamppfiles/xampp backupoppure
sudo /Applications/XAMPP/xamppfiles/xampp backup secretDove "secret" è la password di root di MySQL. Questo comando creerà il seguente output:
Backing up databases...
Backing up configuration, log and htdocs files...
Calculating checksums...
Building final backup file...
Backup finished.
Take care of /Applications/XAMPP/xamppfiles/backup/xampp-backup-22-01-14.sh
Il file /Applications/XAMPP/xamppfiles/backup/xampp-backup-22-01-14.sh (nell'esempio sopra) contiene i dati backuped. Tieni questo file in un luogo sicuro.
Sulla nuova macchina hai bisogno della stessa versione di XAMPP come sulla macchina originale / sorgente.
sudo sh xampp-backup-22-01-14.shDovresti vedere qualcosa come questo
Checking integrity of files...
Restoring configuration, log and htdocs files...
Checking versions...
Installed: XAMPP 1.4.2
Backup from: XAMPP 1.4.2
Restoring MySQL databases...
Restoring MySQL user databases...
Backup complete. Have fun!
You may need to restart XAMPP to complete the restore.
Questo è tutto. Tenete in mente che si tratta di una caratteristica beta.