OS X Preguntas frecuentes
- What is the difference between XAMPP for OS X and XAMPP-VM?
-
- XAMPP for OS X is a native installer for OS X. It installs Apache, PHP and other XAMPP components directly on your OS X system, in the /Applications/XAMPP folder.
- XAMPP-VM is a virtual machine for OS X. It includes Apache, PHP and other XAMPP components and runs them in a Linux-based virtual machine on your OS X system.
For more information, refer to the blog post at https://www.apachefriends.org/blog/new_xampp_20170628.html.
. - ¿Cómo instalo XAMPP para Mac OS X?
-
Para instalar XAMPP haz lo siguiente:
- Abre la imagen DMG.
- Haz doble click en la imagen para iniciar el proceso de instalación.
Eso es todo. XAMPP está ahora instalado en el directorio /Applications/XAMPP.
- Does XAMPP include MySQL or MariaDB?
-
Since XAMPP 5.5.30 and 5.6.14, XAMPP ships MariaDB instead of MySQL. The commands and tools are the same for both.
- ¿Cómo inicio XAMPP?
-
Para iniciar XAMPP, simplemente abre el Panel de Control de XAMPP e inicia Apache, MySQL y ProFTPD. El nombre del Panel de Control de XAMPP es "manager-osx".
- ¿Cómo paro XAMPP?
-
Para parar XAMPP simplemente abre el Panel de Control de XAMPP y para los servidores. El nombre del Panel de Control de XAMPP es "manager-osx".
- ¿Cómo compruebo que todo ha ido bien?
-
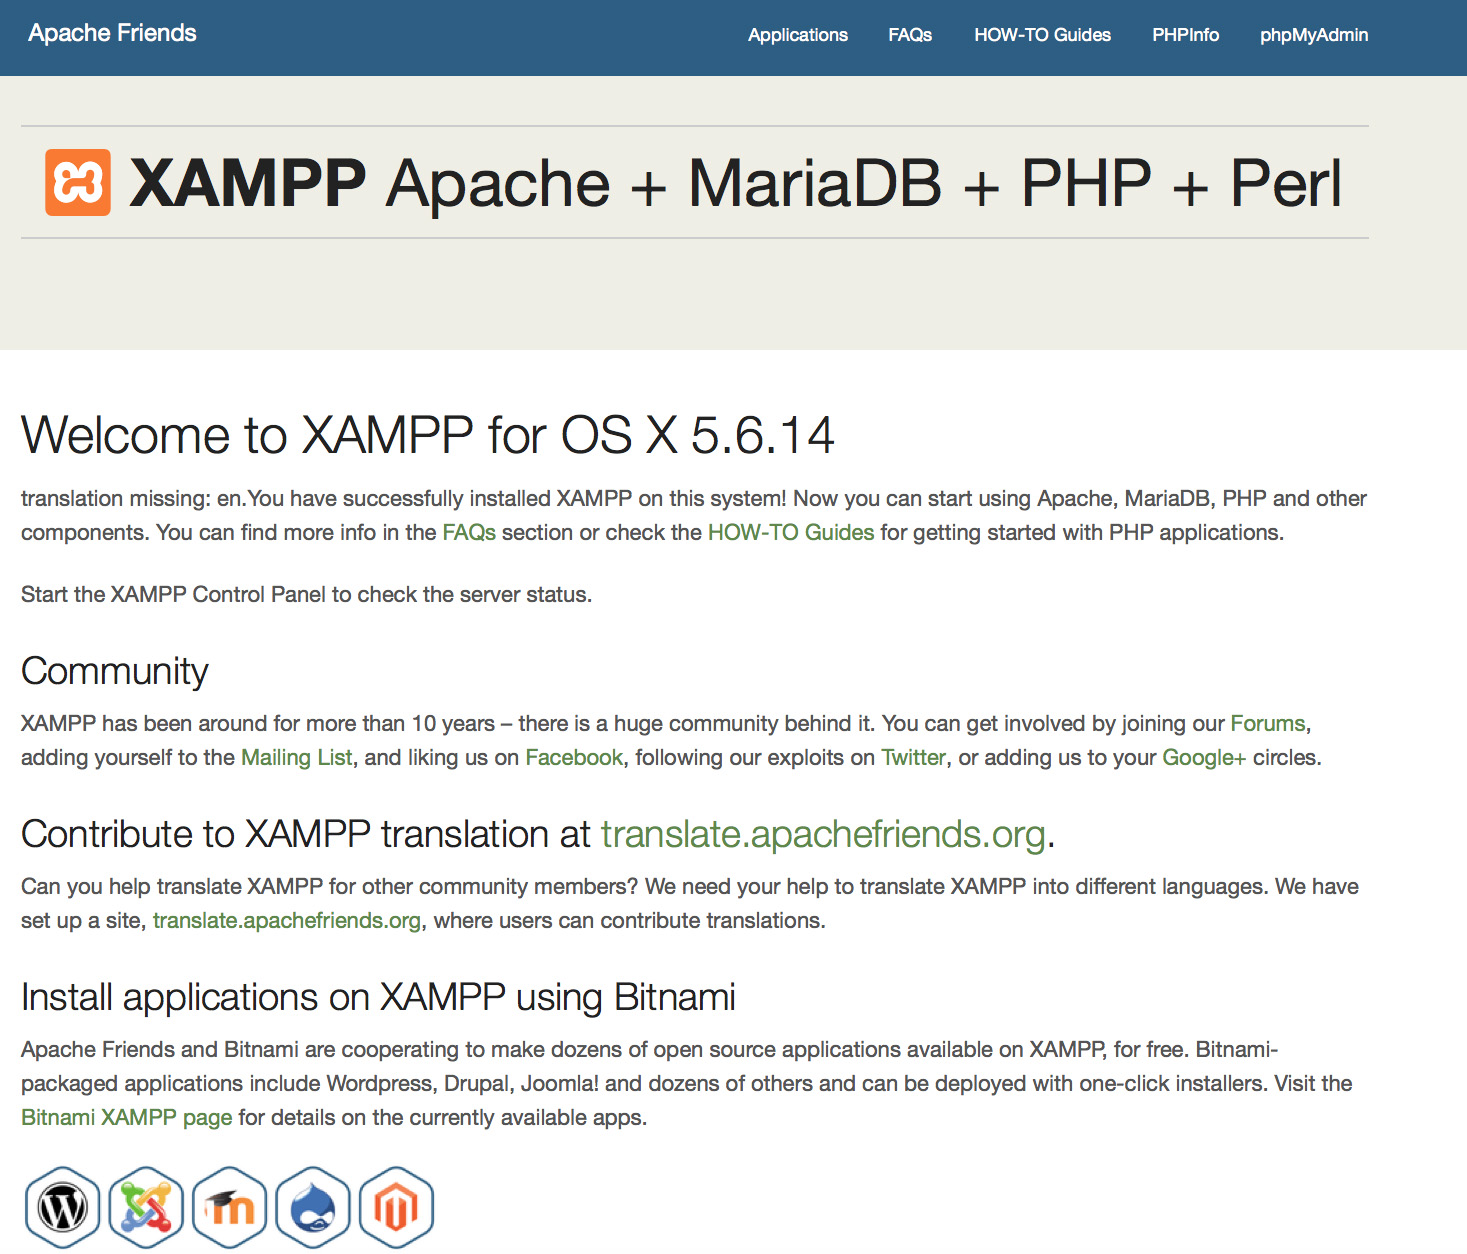
Escribe la siguiente URL en tu navegador:
http://localhostYou should see the XAMPP start page, as shown below.
- ¿Está XAMPP listo para producción?
XAMPP no está pensado para uso en producción, sino para entornos de desarrollo. XAMPP está configurado de forma que sea tan abierto como sea posible, permitiendo al desarrollador hacer lo que quiera. En entornos de desarrollo esto es magnífico pero en un entorno de producción puede ser fatal.
A continuación se muestra una lista de posibles fallos de seguridad en XAMPP:
- El administrador de MySQL (root) no tiene password.
- El proceso MySQL está accesible a través de la red.
- ProFTPD usa la contraseña "lampp" para el usuario "daemon".
Para arreglar la mayoría de las debilidades de seguridad, simplemente ejecuta el siguiente comando:
sudo /Applications/XAMPP/xamppfiles/xampp securityEsto iniciará una pequeña comprobación de seguridad para hacer la instalación de XAMPP segura.
- ¿Cuál es el significado de los mensajes de error que veo cuando inicio XAMPP?
-
Puedes obtener muchos mensajes de error mientras inicias XAMPP:
LAMPP-Apache is already running.

            An Apache daemon is already running.
El script de inicio de LAMPP no inició XAMPP-Apache porque ya hay otro servidor Apache iniciado. Para iniciar XAMPP correctamente, primero tienes que parar ese servidor.
LAMPP-MySQL is already running.

            A MySQL daemon is already running.
Este error es similar al anterior. El script de inicio de LAMPP encontró un servidor de MySQL iniciado en tu sistema. Para iniciar LAMPP correctamente, tienes que parar ese servidor primero.
- Apache doesn't seem to start. What can I do?
-
Este error puede aparecer por múltiples razones. Apache lo muestra bajo muchas circunstancias. Para encontrar la razón exacta, tenemos que investigar:
tail -2 /Applications/XAMPP/logs/error_logSi recibes algún mensaje de error visita nuestra comunidad para obtener ayuda
- ¿Cómo puedo hacer mi instalación de XAMPP más segura?
-
En la instalación por defecto, XAMPP no tiene establecida contraseña y no es recomendable ejecutar XAMPP con esta configuración accesible por otros.
Simplemente ejecuta el siguiente comando (como root) para iniciar una pequeña comprobación de seguridad:
sudo /Applications/XAMPP/xamppfiles/xampp securityAhora deberías ver el siguiente cuadro de diálogo en tu pantalla:
XAMPP: Quick security check...
XAMPP: MySQL is accessable via network.
XAMPP: Normaly that's not recommended. Do you want me to turn it off? [yes] yes
XAMPP: Turned off.
XAMPP: Stopping MySQL...
XAMPP: Starting MySQL...
XAMPP: The MySQL/phpMyAdmin user pma has no password set!!!
XAMPP: Do you want to set a password? [yes] yes
XAMPP: Password: ******
XAMPP: Password (again): ******
XAMPP: Setting new MySQL pma password.
XAMPP: Setting phpMyAdmin's pma password to the new one.
XAMPP: MySQL has no root passwort set!!!
XAMPP: Do you want to set a password? [yes] yes
XAMPP: Write the passworde somewhere down to make sure you won't forget it!!!
XAMPP: Password: ******
XAMPP: Password (again): ******
XAMPP: Setting new MySQL root password.
XAMPP: Setting phpMyAdmin's root password to the new one.
XAMPP: The FTP password for user 'nobody' is still set to 'lampp'.
XAMPP: Do you want to change the password? [yes] yes
XAMPP: Password: ******
XAMPP: Password (again): ******
XAMPP: Reload ProFTPD...
XAMPP: Done.
(1) Establecer una contraseña protegerá las páginas de ejemplo de XAMPP (http://localhost/xampp/) usando esta contraseña. ¡El nombre de usuario es 'lampp'!
Tras ejecutar este comando tu instalación de XAMPP debería ser más segura.
- ¿Cómo activo la extensión OCI8/Oracle para PHP?
-
Para activar la extensión OCI8/Oracle para PHP ejecuta el siguiente comando:
sudo /Applications/XAMPP/xamppfiles/lampp oci8El siguiente diálogo se iniciará:
Please enter the path to your Oracle or Instant Client installation:
[/Applications/XAMPP/xamppfiles/lib/instantclient-11.2.0.3.0]
installing symlinks...
patching php.ini...
OCI8 add-on activation likely successful.
LAMPP: Stopping Apache with SSL...
LAMPP: Starting Apache with SSL...
Ahora la extensión debería estar activada.
- ¿Cómo habilitar el accesso a phpMyAdmin desde fuera?
-
En la configuración básica de XAMPP, phpMyAdmin es accessible sólo desde la máquina donde está instalada en http://127.0.0.1 o http://localhost.
IMPORTANTE: Habilitar el accesso de phpMyAdmin para usuarios externos no está recomendado para entornos de producción. Un atacante podría usar cualquier vulnerabilidad de la aplicación para ejecutar código o modificar datos.
Para habilitar el acceso remote a phpMyAdmin, sigue estos pasos:
- Edita el fichero /Applications/XAMPP/xamppfiles/etc/extra/httpd-xampp.conf en tu directorio de instalación.
- En este fichero encuentra las siguientes líneas.
Alias /phpmyadmin "/Applications/XAMPP/xamppfiles/phpmyadmin" <Directory "/Applications/XAMPP/xamppfiles/phpmyadmin"> AllowOverride AuthConfig Require local - Reemplaza 'Require local' por 'Require all granted'.
- Reinicia el servidor de XAMPP usando el panel de control.
Alias /phpmyadmin "/Applications/XAMPP/xamppfiles/phpmyadmin" <Directory "/Applications/XAMPP/xamppfiles/phpmyadmin"> AllowOverride AuthConfig Require all granted - Where are the main XAMPP configuration files?
-
The main XAMPP configuration files are located as follows:
- Apache configuration file: /Applications/XAMPP/xamppfiles/etc/httpd.conf, /Applications/XAMPP/xamppfiles/etc/extra/httpd-xampp.conf
- PHP configuration file: /Applications/XAMPP/xamppfiles/etc/php.ini
- MySQL configuration file: /Applications/XAMPP/xamppfiles/etc/my.cnf
- ProFTPD configuration file: /Applications/XAMPP/xamppfiles/etc/proftpd.conf
- How do I send email with XAMPP?
-
To send email with XAMPP, use the PEAR Mail and Net_SMTP packages, which allow you to send email using an external SMTP account (such as a Gmail account). Follow these steps:
- Install the Mail and Net_SMTP PEAR modules:
pear install Net_SMTP MailNote that if these packages are already installed in your system you see the messages below when executing that command:Ignoring installed package pear/Net_SMTP Ignoring installed package pear/Mail Nothing to install -
Create the following example script in your "htdocs" directory to send an email:
          <?php
          require_once "Mail.php";

          $from = "your-gmail-username@gmail.com";
          $to = 'recipients@example.com';

          $host = "ssl://smtp.gmail.com";
          $port = "465";
          $username = 'your-gmail-username@gmail.com';
          $password = 'your-gmail-password';

          $subject = "test";
          $body = "test";

          $headers = array ('From' => $from, 'To' => $to,'Subject' => $subject);
          $smtp = Mail::factory('smtp',
             array ('host' => $host,
               'port' => $port,
               'auth' => true,
               'username' => $username,
               'password' => $password));

          $mail = $smtp->send($to, $headers, $body);

          if (PEAR::isError($mail)) {
            echo($mail->getMessage());
          } else {
            echo("Message successfully sent!\n");
          }
          ?>
Remember to replace the dummy values shown with your actual Gmail address and account password. If you don't plan to use Gmail's SMTP server, replace the SMTP host details with appropriate values for your organization or ISP's SMTP server.
- Execute the script by browsing to it using your Web browser. You should see a notification that the message was successfully sent, and the message should be delivered to the recipient email address.
- Install the Mail and Net_SMTP PEAR modules:
- ¿Cómo hago una copia de seguridad/restauro mi sistema XAMPP?
-
Aviso: La funcionalidad de copia de seguridad y restauración está bajo desarrollo y puede no funcionar correctamente.
Puedes crear la copia de seguridad ejecutando:
sudo /Applications/XAMPP/xamppfiles/xampp backupo
sudo /Applications/XAMPP/xamppfiles/xampp backup secretDonde "secret" is tu contraseña de root de MySQL. Este comando generará la siguiente salida:
Backing up databases...
Backing up configuration, log and htdocs files...
Calculating checksums...
Building final backup file...
Backup finished.
Take care of /Applications/XAMPP/xamppfiles/backup/xampp-backup-22-01-14.sh
El fichero /Applications/XAMPP/xamppfiles/backup/xampp-backup-22-01-14.sh (en el ejemplo de arriba) contiene tu copia de seguridad. Guardala en un lugar seguro.
En la nueva máquina necesitas la misma versión de XAMPP que en tu máquina origen.
sudo sh xampp-backup-22-01-14.shDeberías ver algo así:
Checking integrity of files...
Restoring configuration, log and htdocs files...
Checking versions...
Installed: XAMPP 1.4.2
Backup from: XAMPP 1.4.2
Restoring MySQL databases...
Restoring MySQL user databases...
Backup complete. Have fun!
You may need to restart XAMPP to complete the restore.
Eso es todo. Ten en cuenta que es una característica beta.