OS X Gyakran ismételt kérdések
- What is the difference between XAMPP for OS X and XAMPP-VM?
-
- XAMPP for OS X is a native installer for OS X. It installs Apache, PHP and other XAMPP components directly on your OS X system, in the /Applications/XAMPP folder.
- XAMPP-VM is a virtual machine for OS X. It includes Apache, PHP and other XAMPP components and runs them in a Linux-based virtual machine on your OS X system.
For more information, refer to the blog post at https://www.apachefriends.org/blog/new_xampp_20170628.html.
. - Hogyan telepítsem a XAMPP-ot Mac OS X rendszerre?
-
A XAMPP telepítéséhez tegye a következőt:
- Nyissa meg a DMG-képfájlt.
- Kattintson duplán a képfájlra a telepítési folyamat indításához.
Ennyi. A XAMPP most már telepítve van az /Applications/XAMPP könyvtár alá.
- Does XAMPP include MySQL or MariaDB?
-
Since XAMPP 5.5.30 and 5.6.14, XAMPP ships MariaDB instead of MySQL. The commands and tools are the same for both.
- Hogyan indítsam el a XAMPP-ot?
-
A XAMPP indításához egyszerűen nyissa meg a XAMPP vezérlőt és indítsa el az Apache, MySQL és ProFTPD kiszolgálókat. A XAMPP vezérlő neve „manager-osx”.
- Hogyan állíthatom le a XAMPP-ot?
-
A XAMPP leállításához egyszerűen nyissa meg a XAMPP vezérlőt és állítsa le kiszolgálókat. A XAMPP vezérlő neve „manager-osx”.
- Hogyan ellenőrizhetem, hogy minden működik-e?
-
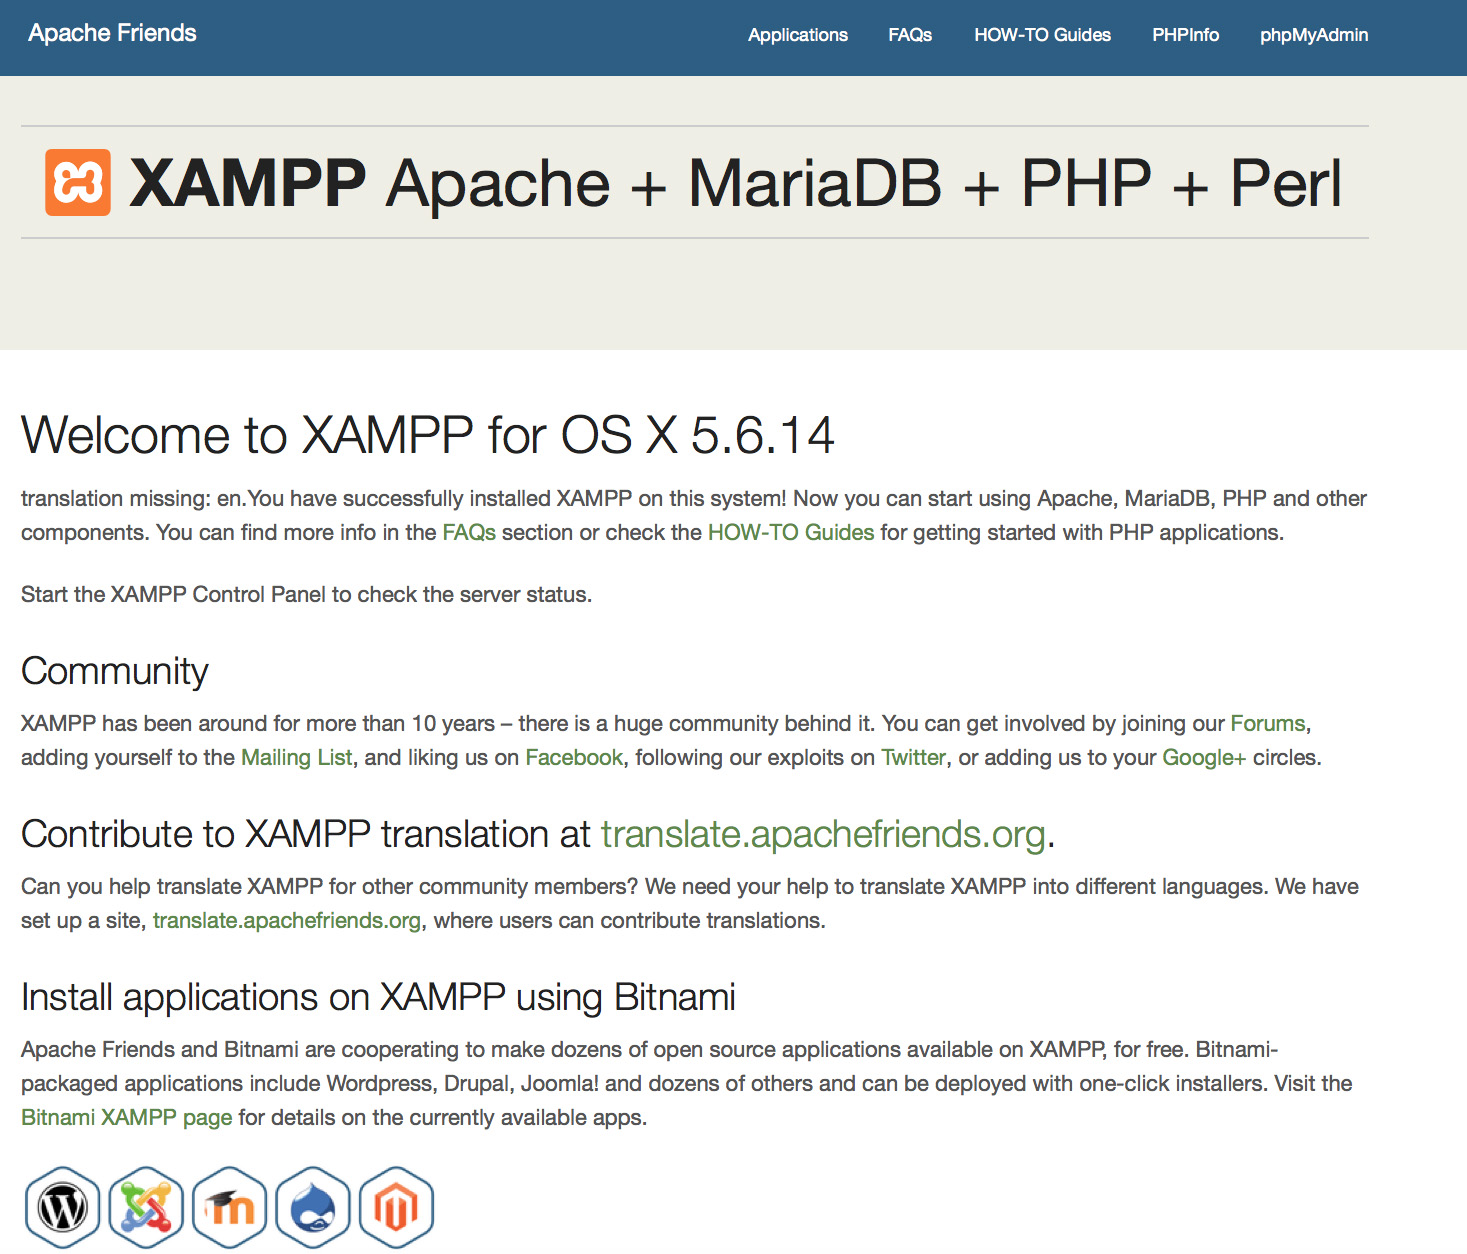
Gépelje be a következő URL-t a webböngészőbe:
http://localhostYou should see the XAMPP start page, as shown below.
- A XAMPP készen áll a munkához?
A XAMPP nem a produktív használatot jelenti, ez csak egy fejlesztői környezet. A XAMPP oly módon lett beállítva, hogy annyira nyitott legyen, amennyire csak lehetséges, hogy lehetővé tegyen a fejlesztőknek bármit, amit szeretnének. Ez nagyszerű egy fejlesztői környezethez, de produktív környezetben végzetes lehet.
Itt egy lista a XAMPP hiányzó biztonsági dolgairól:
- A MySQL adminisztrátornak (root) nincs jelszava.
- A MySQL démon elérhető a hálózaton keresztül.
- A ProFTPD a „lampp” jelszót használja a „daemon” felhasználóhoz.
A biztonsági gyengeségek nagy részének javításához egyszerűen adja ki a következő parancsot:
sudo /Applications/XAMPP/xamppfiles/xampp securityEz elindít egy kis biztonsági ellenőrzést és biztonságossá teszi a XAMPP telepítését.
- Mit jelentenek azok a hibaüzenetek, amelyeket a XAMPP indításakor látok?
-
Számos hibaüzenetet kaphat a XAMPP indításakor:
LAMPP-Apache is already running.

            An Apache daemon is already running.
A LAMPP indítási parancsfájl nem tudta elindítani a XAMPP-Apache programot, mert egy Apache példány már fut. A XAMPP megfelelő indításához először le kell állítania ezt a démont.
LAMPP-MySQL is already running.

            A MySQL daemon is already running.
Ez legtöbbször hasonló okok miatt történik mint a fenti hiba. A LAMPP indítási parancsfájl talált egy MySQL démont, amely már fut a rendszeren. A LAMPP megfelelő indításához először le kell állítania ezt a démont.
- Apache doesn't seem to start. What can I do?
-
Ez a hiba több ok miatt állhat fenn. Az Apache ezt a hibát számos körülmény miatt jelenítheti meg. A pontos ok megtalálásához egy kis kutatást kell tennünk:
tail -2 /Applications/XAMPP/logs/error_logHa hibaüzenetet kapott, látogassa meg a közösségi oldalainkat a segítségért.
- Hogyan tehetem a XAMPP telepítésemet még biztonságosabbá?
-
Az alapértelmezett telepítésben a XAMPP nem rendelkezik beállított jelszóval és nem javasolt a XAMPP futtatása ezzel a beállítással mások számára elérhető módon.
Egyszerűen gépelje be a következő parancsot (rendszergazdaként) egy egyszerű biztonsági ellenőrzés indításához:
sudo /Applications/XAMPP/xamppfiles/xampp securityMost a következő párbeszédablakot kellene látnia a képernyőjén:
XAMPP: Quick security check...
XAMPP: MySQL is accessable via network.
XAMPP: Normaly that's not recommended. Do you want me to turn it off? [yes] yes
XAMPP: Turned off.
XAMPP: Stopping MySQL...
XAMPP: Starting MySQL...
XAMPP: The MySQL/phpMyAdmin user pma has no password set!!!
XAMPP: Do you want to set a password? [yes] yes
XAMPP: Password: ******
XAMPP: Password (again): ******
XAMPP: Setting new MySQL pma password.
XAMPP: Setting phpMyAdmin's pma password to the new one.
XAMPP: MySQL has no root passwort set!!!
XAMPP: Do you want to set a password? [yes] yes
XAMPP: Write the passworde somewhere down to make sure you won't forget it!!!
XAMPP: Password: ******
XAMPP: Password (again): ******
XAMPP: Setting new MySQL root password.
XAMPP: Setting phpMyAdmin's root password to the new one.
XAMPP: The FTP password for user 'nobody' is still set to 'lampp'.
XAMPP: Do you want to change the password? [yes] yes
XAMPP: Password: ******
XAMPP: Password (again): ******
XAMPP: Reload ProFTPD...
XAMPP: Done.
(1) Egy jelszó beállításával fogja védeni a XAMPP bemutató oldalakat (http://localhost/xampp/) ennek a jelszónak a használatával. A felhasználónév a „lampp”!
A parancs kiadása után a XAMPP telepítése sokkal biztonságosabb lesz.
- Hogyan aktiválhatom az OCI8/Oracle PHP kiterjesztést?
-
Az OCI8/Oracle PHP kiterjesztés aktiváláshoz futtassa le a következő parancsot:
sudo /Applications/XAMPP/xamppfiles/lampp oci8A következő párbeszédablak fog elindulni:
Please enter the path to your Oracle or Instant Client installation:
[/Applications/XAMPP/xamppfiles/lib/instantclient-11.2.0.3.0]
installing symlinks...
patching php.ini...
OCI8 add-on activation likely successful.
LAMPP: Stopping Apache with SSL...
LAMPP: Starting Apache with SSL...
A kiterjesztés most már aktív.
- How do I enable access to phpMyAdmin from the outside?
-
In the basic configuration of XAMPP, phpMyAdmin is accessible only from the same host that XAMPP is running on, at http://127.0.0.1 or http://localhost.
IMPORTANT: Enabling external access for phpMyAdmin in production environments is a significant security risk. You are strongly advised to only allow access from localhost. A remote attacker could take advantage of any existing vulnerability for executing code or for modifying your data.
To enable remote access to phpMyAdmin, follow these steps:
- Edit the xamppfiles/etc/extra/httpd-xampp.conf file in your XAMPP installation directory.
- Within this file, find the lines below.
Alias /phpmyadmin "/Applications/XAMPP/xamppfiles/phpmyadmin" <Directory "/Applications/XAMPP/xamppfiles/phpmyadmin"> AllowOverride AuthConfig Require local - Then replace 'Require local' with 'Require all granted'.
- Restart the Apache server using the XAMPP control panel.
Alias /phpmyadmin "/Applications/XAMPP/xamppfiles/phpmyadmin" <Directory "/Applications/XAMPP/xamppfiles/phpmyadmin"> AllowOverride AuthConfig Require all granted - Where are the main XAMPP configuration files?
-
The main XAMPP configuration files are located as follows:
- Apache configuration file: /Applications/XAMPP/xamppfiles/etc/httpd.conf, /Applications/XAMPP/xamppfiles/etc/extra/httpd-xampp.conf
- PHP configuration file: /Applications/XAMPP/xamppfiles/etc/php.ini
- MySQL configuration file: /Applications/XAMPP/xamppfiles/etc/my.cnf
- ProFTPD configuration file: /Applications/XAMPP/xamppfiles/etc/proftpd.conf
- How do I send email with XAMPP?
-
To send email with XAMPP, use the PEAR Mail and Net_SMTP packages, which allow you to send email using an external SMTP account (such as a Gmail account). Follow these steps:
- Install the Mail and Net_SMTP PEAR modules:
pear install Net_SMTP MailNote that if these packages are already installed in your system you see the messages below when executing that command:Ignoring installed package pear/Net_SMTP Ignoring installed package pear/Mail Nothing to install -
Create the following example script in your "htdocs" directory to send an email:
          <?php
          require_once "Mail.php";

          $from = "your-gmail-username@gmail.com";
          $to = 'recipients@example.com';

          $host = "ssl://smtp.gmail.com";
          $port = "465";
          $username = 'your-gmail-username@gmail.com';
          $password = 'your-gmail-password';

          $subject = "test";
          $body = "test";

          $headers = array ('From' => $from, 'To' => $to,'Subject' => $subject);
          $smtp = Mail::factory('smtp',
             array ('host' => $host,
               'port' => $port,
               'auth' => true,
               'username' => $username,
               'password' => $password));

          $mail = $smtp->send($to, $headers, $body);

          if (PEAR::isError($mail)) {
            echo($mail->getMessage());
          } else {
            echo("Message successfully sent!\n");
          }
          ?>
Remember to replace the dummy values shown with your actual Gmail address and account password. If you don't plan to use Gmail's SMTP server, replace the SMTP host details with appropriate values for your organization or ISP's SMTP server.
- Execute the script by browsing to it using your Web browser. You should see a notification that the message was successfully sent, and the message should be delivered to the recipient email address.
- Install the Mail and Net_SMTP PEAR modules:
- Hogyan tudok biztonsági mentést és visszaállítást készíteni a XAMPP rendszeremről?
-
Figyelem: A biztonsági mentés és visszaállítás funkció még fejlesztés alatt van és lehet, hogy nem megfelelően működik.
A biztonsági mentés létrehozásához írja be ezt:
sudo /Applications/XAMPP/xamppfiles/xampp backupvagy
sudo /Applications/XAMPP/xamppfiles/xampp backup secretAhol a „secret” a MySQL root jelszava. Ez a parancs a következő kimenetet fogja eredményezni:
Backing up databases...
Backing up configuration, log and htdocs files...
Calculating checksums...
Building final backup file...
Backup finished.
Take care of /Applications/XAMPP/xamppfiles/backup/xampp-backup-22-01-14.sh
A (fenti példában lévő) /Applications/XAMPP/xamppfiles/backup/xampp-backup-22-01-14.sh fájl tartalmazza a biztonsági mentés adatait. Tegye ezt a fájlt biztonságos helyre.
Az új gépen szüksége lesz ugyanarra a XAMPP verzióra, mint amelyet az eredeti/forrás gépen használt.
sudo sh xampp-backup-22-01-14.shValami ehhez hasonlót kell látnia:
Checking integrity of files...
Restoring configuration, log and htdocs files...
Checking versions...
Installed: XAMPP 1.4.2
Backup from: XAMPP 1.4.2
Restoring MySQL databases...
Restoring MySQL user databases...
Backup complete. Have fun!
You may need to restart XAMPP to complete the restore.
Ennyi. Ne feledje, ez egy béta állapotú szolgáltatás.